Index
About Fluig Mobile
With the Fluig application for mobile devices, you can access all the features of Fluig even when you’re away from the office.
Benefits
With Fluig Mobile, you can:
- Start workflow processes;
- Execute workflow processes;
- Approve documents;
- Publish documents;
- Browse documents;
- Viewing documents;
- Interact in a community and with connections through communities;
- Manage favorites (add, remove, view) for processes, documents and collaboration (users and communities);
Requirements
Fluig Mobile has installation requirements according to the device used.
Android
- Supported versions
Android 2.1 or higher
- Supported devices
Smartphones and Tablets
- Storage
Requires memory card available in device
iPhone/iPad/iPod Touch
- Supported versions
iOS 6 or higher
- Supported devices
iPhone 3Gs or higher, iPad (all models), iPod Touch 3rd generation or higher
Internet connection
To install and use the Fluig Mobile application, you need an Internet connection, whether through data plan (3G/4G) or Wi-Fi networks. If using a data plan, charges may apply.
Dica
Contact your mobile phone operator for more information on charges and data limits.
Installing the application
To install Fluig Mobile, you must have an account in your device’s application store.
For more information on creating accounts in the application store, contact the support of the platform used.
Installing Fluig Mobile
The Fluig Mobile application is available for free on AppStore and Google Play for the iOS andAndroid platforms.
 |
|---|
To install, follow these steps:
- Access through the buttons above or Open the application store and search for "Fluig";
- Tap Install
- Enter your login information for the store, if needed;
- Wait for the download and installation.
Once the installation is complete, Fluig Mobile is ready to use.
![]()
Figure 1: Fluig application icon:
Adding accounts in Fluig Mobile
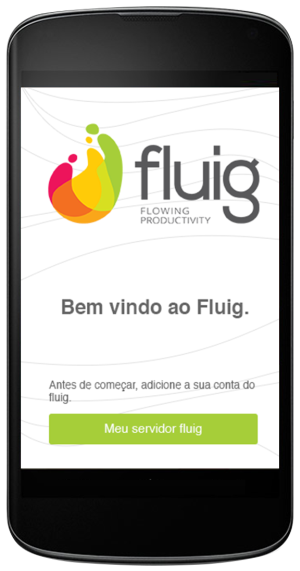
To use Fluig Mobile, you need to add your Fluig account.
When starting the application, tap "My Fluig server".
Enter server address, a description and tap save:
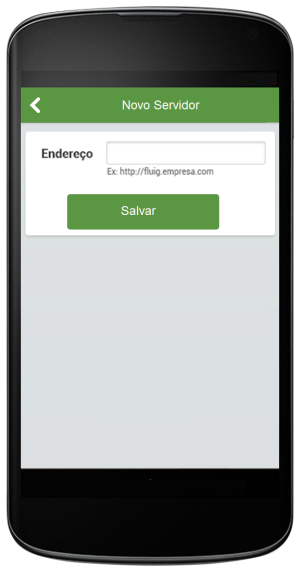
If server address is correct, your device will display the Fluig mobile login screen.
Attention
If you have any questions about the server address, contact the Fluig administrator.
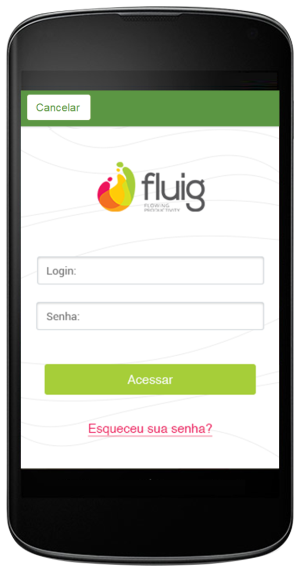
When the login is successful, the server will be added to the application and you will be directed to the Task Central.
I forgot my password.
If needed, you can request a new password:

Main Features of Fluig Mobile
Besides providing access to the main features of Fluig, the application aims to provide a user experience according to the device in which it was installed.
Device default (platform)
In a device with Android, Fluid will display a different user experience than with the iOS application.
Default view
In visual terms, the application for Android devices (smartphones and tablets) and Apple devices (iPhone/iPad/iPod Touch) are very similar. However, user experience varies according to the device.
Smartphones/Tablets
Fluig is universal, and can be used in smartphones or tablets. For tablets, the application is optimized for better use of the screen, if compared to smartphones (lower resolution).
Offline browsing
Even without an Internet connection, the application allows you to read previously viewed comments (offline browsing). As soon as the Internet connection is reestablished (whether through Wi-Fi or mobile phone networks), the application allows you to use the features available, in addition to updating previously saved information.
Using Fluig Mobile
Getting to Know the Main Menu
When opening the application (or after adding your account, the first time you start the application), you will view its task central, with your pending tasks.
However, before getting to know the central task, let's take a look at the main menu Fluig Mobile. To access this menu, tap on the upper left corner of the screen:
This is the main menu for Fluig Mobile, which allows you to access all the features the device offers.
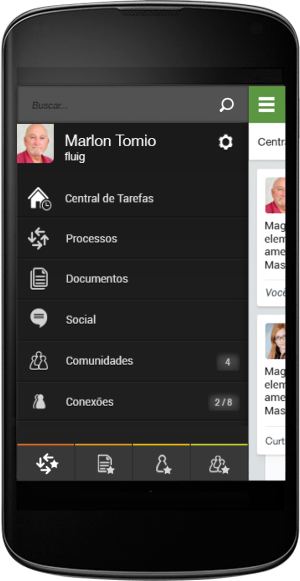
- Task Central: view and execute tasks, approve documents and view notifications;
- Processes: Start workflow requests;
- Documents: view documents and their information (metadata);
- Social: interact in communities and with your Fluig connections;
- Communities: View all communities you belong to, and access them in a quick and easy manner;
- Connections: view your connections and access the profiles in a quick and easy manner;
- Favorites: quick and easy access to your favorites (documents, processes or collaboration).
- Settings: adjust the Fluig Mobile settings according to your preference.
- Search: Do you want to search content on Fluig? Go to our search tool!
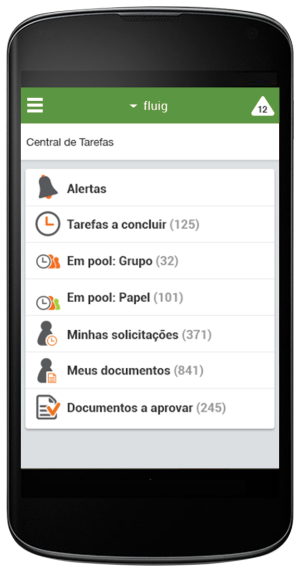
Getting to Know the Task Central
In Fluig, the user can access all pending tasks through the Task Central. Its items are:
- Notifications: Access to all of user’s social notifications
- Due tasks: Pending tasks for a current user.
- In Pool: Pending tasks for a group or role to which the user belongs. To handle this task, the user must accept it.
- My Requests: Requests started by the current user.
- My Documents: My documents that await approval.
- Document to be approved: Documents pending approval by the current user.
Processes
Starting Requests
Through Fluig Mobile, you can start all processes that Fluig offers.
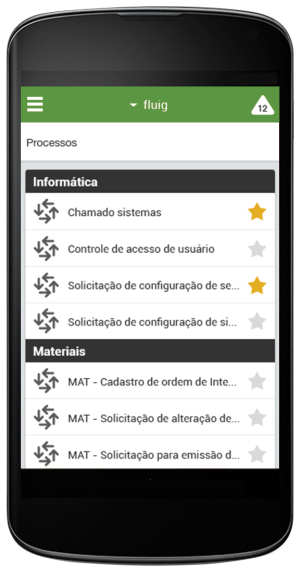
On the main menu, select processes:
All processes and their categories will be displayed
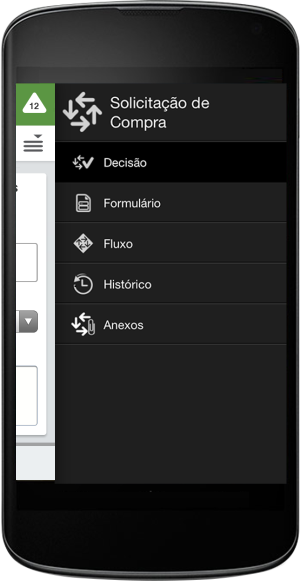
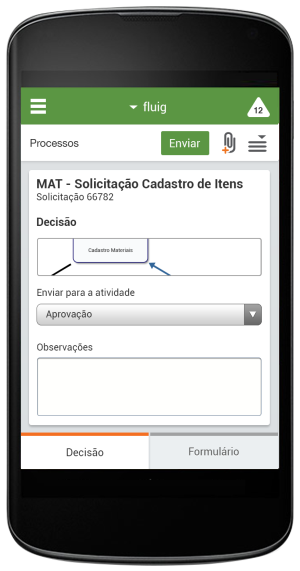
By tapping a process from the list of available processes, process data will be displayed. Process data are divided into:
- Decision: select a target activity, as well as responsible user (if needed)
- Form: view and fill out form
- Flow: view process flow
- History: view process history
- Attachments: add, remove attachments, or post to GED (according to security level defined in the process)
Handling processes
Through Fluig Mobile, you can handle all Fluig processes available to your user.
From the main menu, press Task Central:
In Task Central, select Due Tasks
All pending requests for the user accessing the application will be displayed
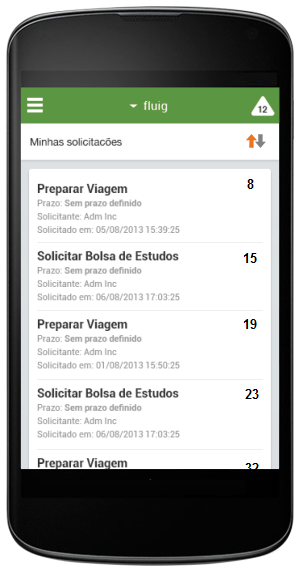
Attention
To find requests with greater ease, you can sort by newest or oldest requests.ções mais novas ou mais antigas.
By tapping a request from the list of due tasks, the data from this request will be displayed. The data are divided into:
- Decision: select a target activity, as well as responsible user (if needed)
- Form: view and fill out form
- Flow: view process flow
- History: view process history
- Attachments: add, remove attachments, or post to GED (according to security level defined in the process)
If you wish to handle the request after filling out all information, tap Send.
Adding attachments to requests
Through Fluig Mobile, you can add attachments in requests.
Tap Attach (Clips) in the request you wish to access. You can choose from two options:
- Add GED attachment: Select a file that has already been published on Fluig as an attachment.
- Add upload attachment: Upload new attachments. These attachments are restricted to a request until they are transformed into a GED Attachment.
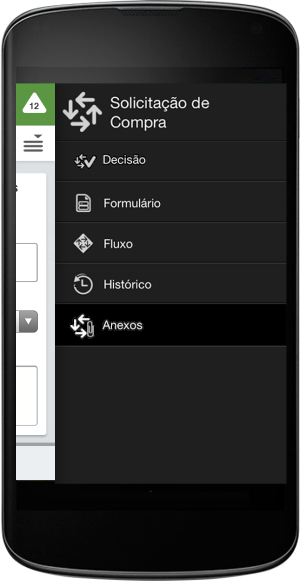
Listing Process Attachments
You can view and edit all attachments of a request.
In the context menu of the request, go to Attachments.
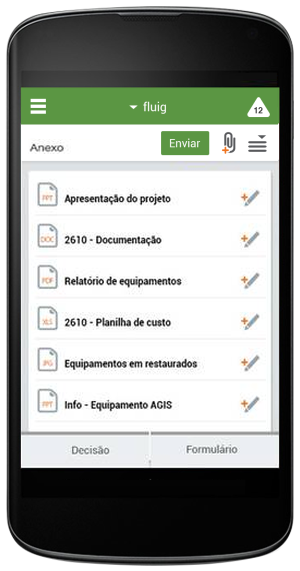
Na listagem de anexos, é possível visualizar ou editar os anexos.
In the attachments list, you can view or edit attachments. To view, you must tap the attachment on the list, and to edit you must tap the Pencil icon. he available options for editing are:
- Remove
- Rename
- Post on GED: This option is only available for Uploading Attachments. It allows you to choose which folder the attachment will be posted in document browsing.
Documents
In Fluig Mobile, you can access the document browsing through the Documents option of the Main Menu. This option allows you to access the documents and folders posted on Fluig that the user has permission.
Publishing documents or folders
Through Fluig Mobile, you can publish documents or folders in folders that the user has permission.
On the main menu, select Documents
Browse until the folder that you wish to post the document to:
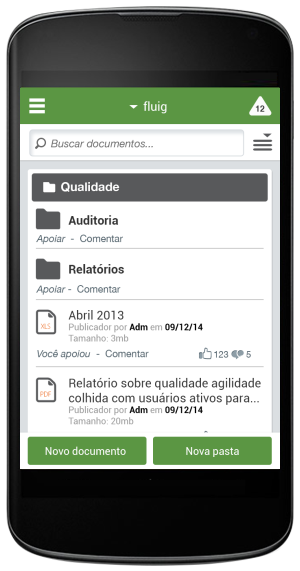
There are two posting options available, in the bottom of the screen:
- New Document: You can post a photo available in your device or take a photo to post at that moment.
- New Folder: Create a folder. Name the folder before creating it.
Attention
When the user does not have permission to post documents or folders, the "New Document" and "New Folder" buttons are disabled.
In the context menu of the folder, you can perform the following actions:
- New Folder: Add new folder.
- New Document: Add new document.
- Rename: Rename current folder.
- Remove: Remove current folder.

Viewing documents
View the documents posted in Fluig.
On the main menu, select Documents
Browse the folders until finding the document you want to view, tap it to view it:
Warning
As well as viewing comments and document supports or folder, it is possible to interact by commenting and supporting documents.
You can view different types of documents:

Warning
There is a unique behavior for each viewing platform, due to the limitation of each one of these:
- IOS: View different types of documents through the application.
- Android: Only txt and hmtl documents, or images, can be viewed in the application. Others require that the machine have a third-party viewer installed for the type of document the user wants to view.
In the contextual menu of the document, you can:
- View Document: Loading document view.
- Details: View document details, including its approval history.
- Rename: Rename the document that is being viewed.
- Remove: Rename the document that is being viewed.

Getting to know document approvals
In Fluig, you can approve documents that are pending for your user.
From the main menu, press Task Central:
In Task Central, select Documents to approve
All documents pending approval for the user accessing the application will be displayed
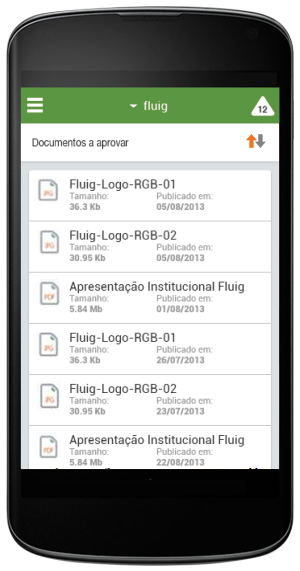
Approving a document is similar to viewing it, however an Approve button remains in the action bar.
Tap on Approve to proceed with approving a document. You will see a screen where you can choose to add a note and approve or reject a document.

Social
Getting to Know Social
Through Fluig, you can communicate with employees and the communities of your company.

Viewing Notifications
View your social notifications. These are: Likes, comments, requests, etc. There are two ways to view notifications on Fluig, one is through an item in Task Central named Notifications and the other is through the triangle on the upper right corner of the device’s screen.
By tapping on Notifications, you can view all your notifications on the screen.

Getting to Know Communities
In Fluig, you can join communities to view information from the areas of your business.

In addition to all social functions, there are other features available for communities in its contextual menu:
- Join: Join (or leave) communities in your network.
- Documents: Browse and view documents of a community.
- Articles: View, comment and support all articles posted in a community.
- Forms: Fill out all forms posted in a community.
- More information: View the number of participants.

Accessing Communities
To access your communities, tap Communities, available on the main menu of the application.
To access a community and view available posts (or create new ones), tap on the name of the community or the picture.

Find communities you joined, or search all communities on the network. Add to or remove the community from your favorites.
Getting to Know Connections
The connections consist of the user's contacts, this session is divided between the contacts that you are following and those who follow your contacts.
Accessing your Connections
To access your connections, tap Connections, available on the main menu of the application.
To view your contacts between Following and Followers, just tap on the desired filter. To access a profile of a contact and view their posts and profile information, tap the contact’s name or picture

As with the community, you can search for contacts in your company and add them to your favorites.
Following a user
To follow a user, go to this user’s profile, access the user’s contextual menu and tap Follow


Getting to Know Favorites
To facilitate access to processes, documents, communities and contacts, you can highlight them by adding them to your favorites.
Thus, you can access them easily through the lower bar, without having to search for and navigate to the desired item, as shown in the animation below:

To access your drafts, tap on Drafts, available on the main menu of the application.
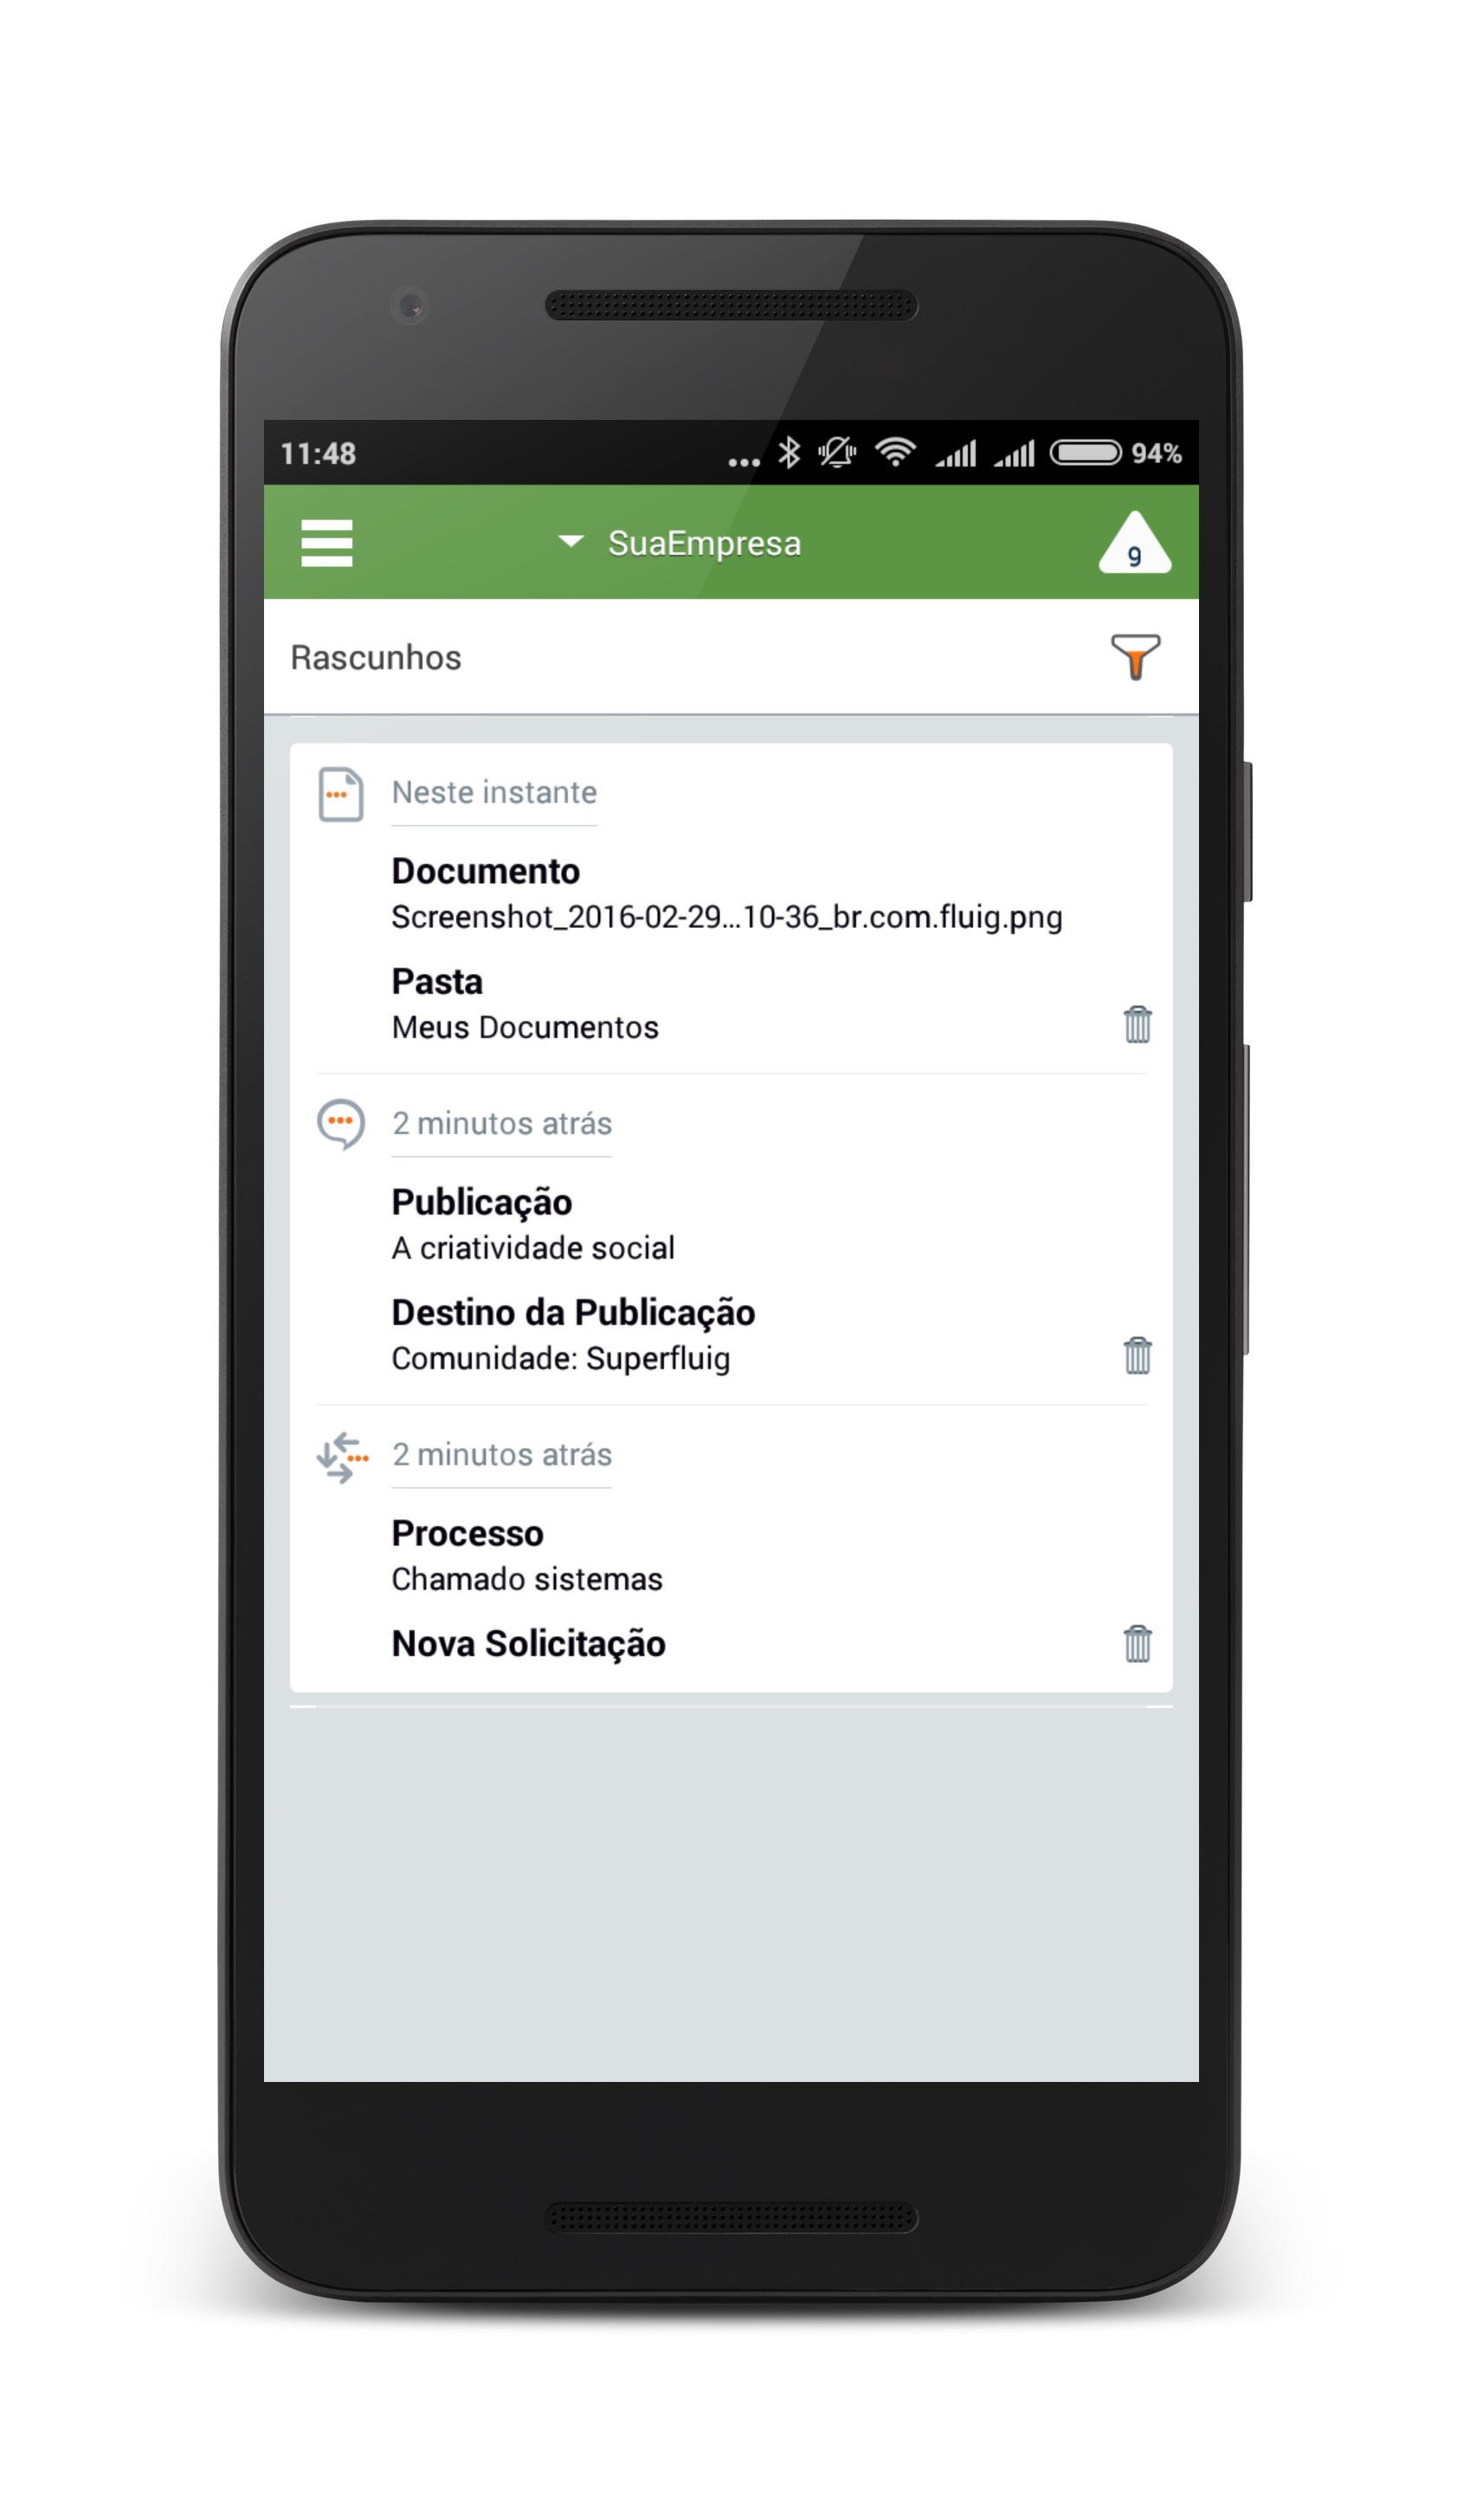
Drafts were created to prevent the user from losing information when the device is no longer connected to the Internet, or connection is momentarily lost. That way, you can save the task being performed on the device, and when the connection is reestablished, you can send the information again, thus avoiding rework. It is possible to store drafts of processes, documents and collaboration:
- Processes: new requests or request handling (execution of activities);
- Documents: posting documents;
- Collaboration: new posts and comments on posts.
Configuring Fluig Mobile
Through the Gear icon on the main menu, you can access the Fluig Mobile settings.
The items available in the settings are:
- Application settings: Define the quality of picture, clean the cache and other settings according to the platform being used.
- Server settings: In Fluig Mobile you can enter multiple servers, and in this item, you can adjust specific settings for each one of them:
- Cache: Define how often Fluig Mobile updates its information;
- Favorites Synchronization: If enabled, it downloads favorite documents of up to 5 MB whenever the device is connected to a Wi-Fi network.
- Clear Cache: Clean out the cache of that server.
- About: See legal information, privacy policy and terms of use for Fluig Mobile.
- Close Session: Disconnects all registered servers, and deletes all personal information stored on the device.
.

Visão Geral
Import HTML Content
Conteúdo das Ferramentas
Tarefas