Index
About widgets
Widgets are screen components that offer specific features on the home page or to create new pages for tracking tasks, processes or documents, among others. The organization of each widget on the pages is customizable via page editing.
Note
Os Widgets can display content related to the site created from WCM, ERP components or promote integration with third-party systems.
Default widgets
Fluig has several default widgets that a user can use to compose a page. The table below presents some available widgets:
| Favorite documents | |
| Have easy access to the documents you use the most on a daily basis. | |
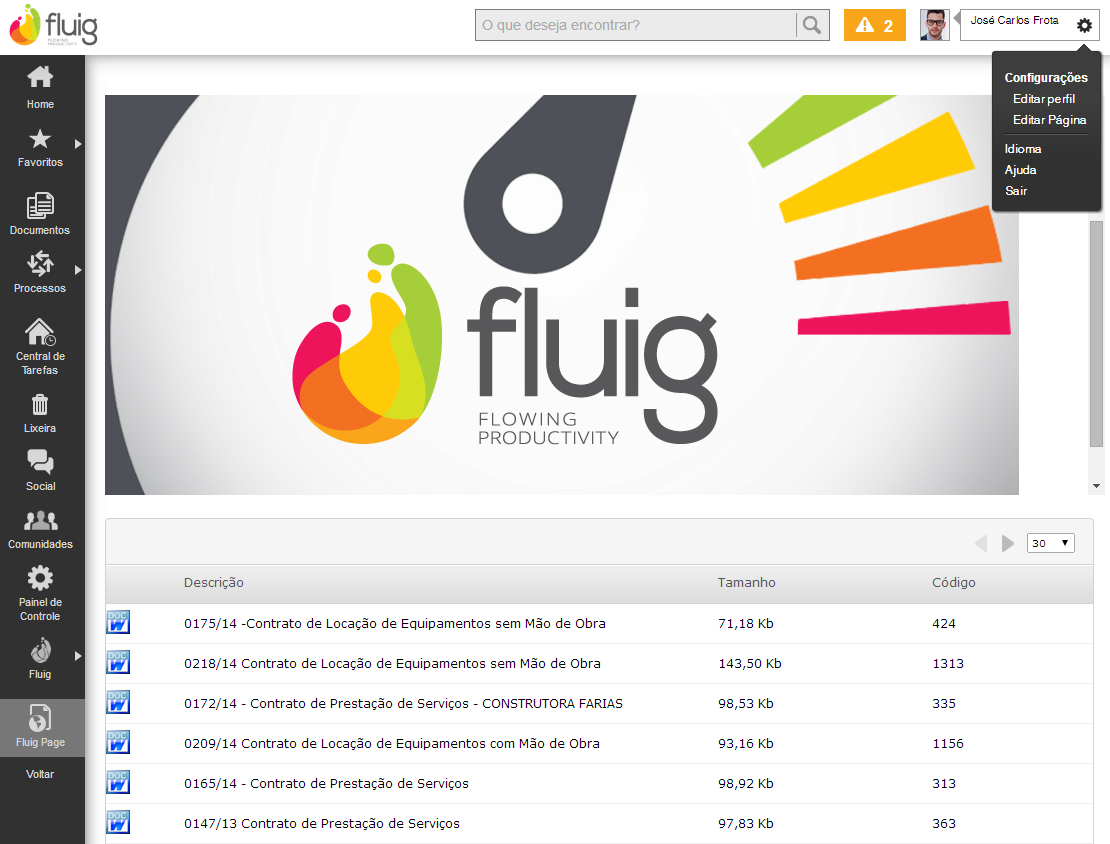
| Popular documents | |
| See what the most accessed documents are. | |
| Favorite processes | |
| Start new requests of the processes that you use the most. | |
| Notification wall | |
| Display notifications on pages. | |
| Task charts | |
| Visually, see how your pending issues are. | |
| New post | |
| Create posts in communities. | |
| Timeline | |
| Follow up the posts of a community. | |
| Graph viewer | |
View graphs quickly and easily. | |
| WEB Address | |
| Visit WEB addresses in an easy and quick way. | |
| Content Editor | |
| Create rich content for your page. | |
| Mini launchpad | |
| Tenha acesso rápido à um app do Fluig Identity. | |
| Lists | |
| View lists on your pages or communities. | |
| Pending tasks | |
| View your pending issues summarized through a graph. | |
| Social favorites | |
| Have easy access to contacts and communities that you use the most on a daily basis. | |
| Social Information | |
| View your contacts and communities. | |
Social favorites | |
| Have easy access to contacts and communities that you use the most on a daily basis. | |
| Community browsing | |
| Browse community galleries. | |
| Centralized Access | |
| Have easy access to routines of systems integrated to Fluig. | |
| Analytics | |
| View graphs and Dashboards of Analytics quickly and easily. | |
| Quick query | |
| Have quick access to simplified reports. |
Custom widgets
Customwidgets are created by the user themself by means of code templates. Through them, the user can provide personalized content, render components of ERP or other third-party systems. It is possible to cite as an example of a custom widget, the widget of sales orders summary, which seeks information in ERP and presents a totalizer for the users:

Nota
For more information about how to create custom widgets, go to the Building WCM components in Fluig Studio guide.
Use widgets
View how to use widgets on a page. Access the tabs to follow the step by step:
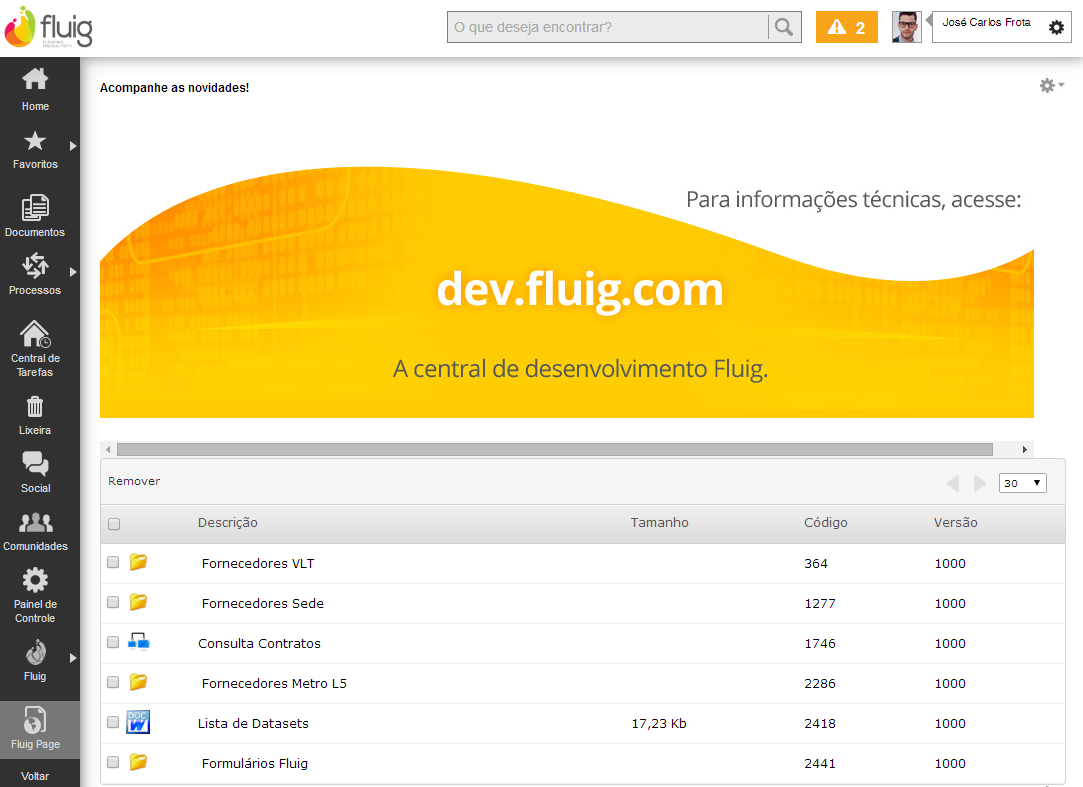
To access the edit mode of a page, open it in the left side menu and click Settings, which is located in the top right corner, and then on Edit page.
In the edit mode of a page, you can add widgets to the slots. Note that in each example page slot, there is already a widget added.
You can add more than one widget to a slot, to add a new widget in the page, click and browse for the widget you want. Later, simply access the Add button and Close.

The widget is added to the page.
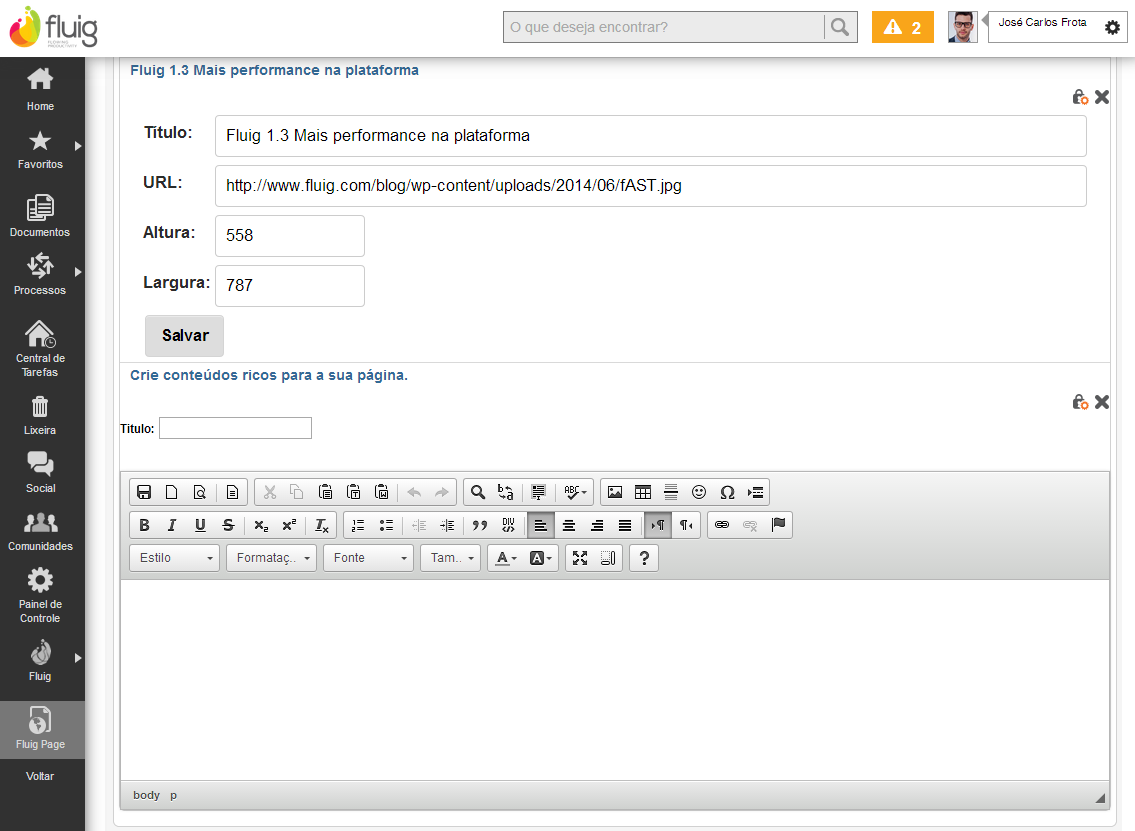
Edit the widget as you wish. In this example the Content Editor widget was added.
Remember that you can move widgets between slots, in this example, we moved the Favorite documents widget to Slot A.

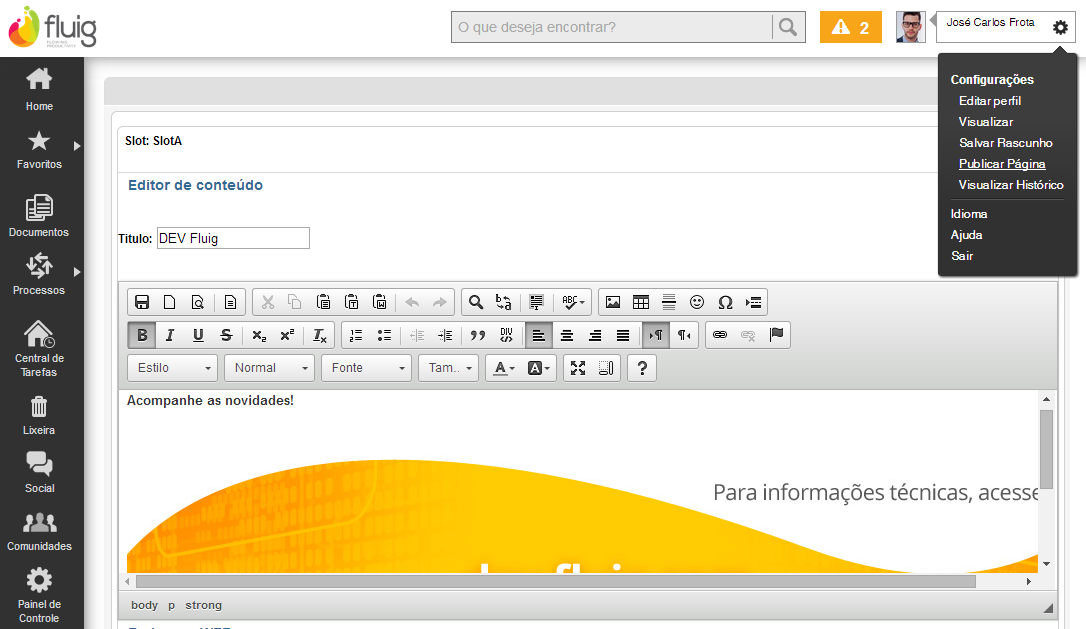
After you add and configure the widgets, you need to post the page so that the components that were configured can be viewed. To do this, on the Settings menu, click Post page.
The page is displayed.
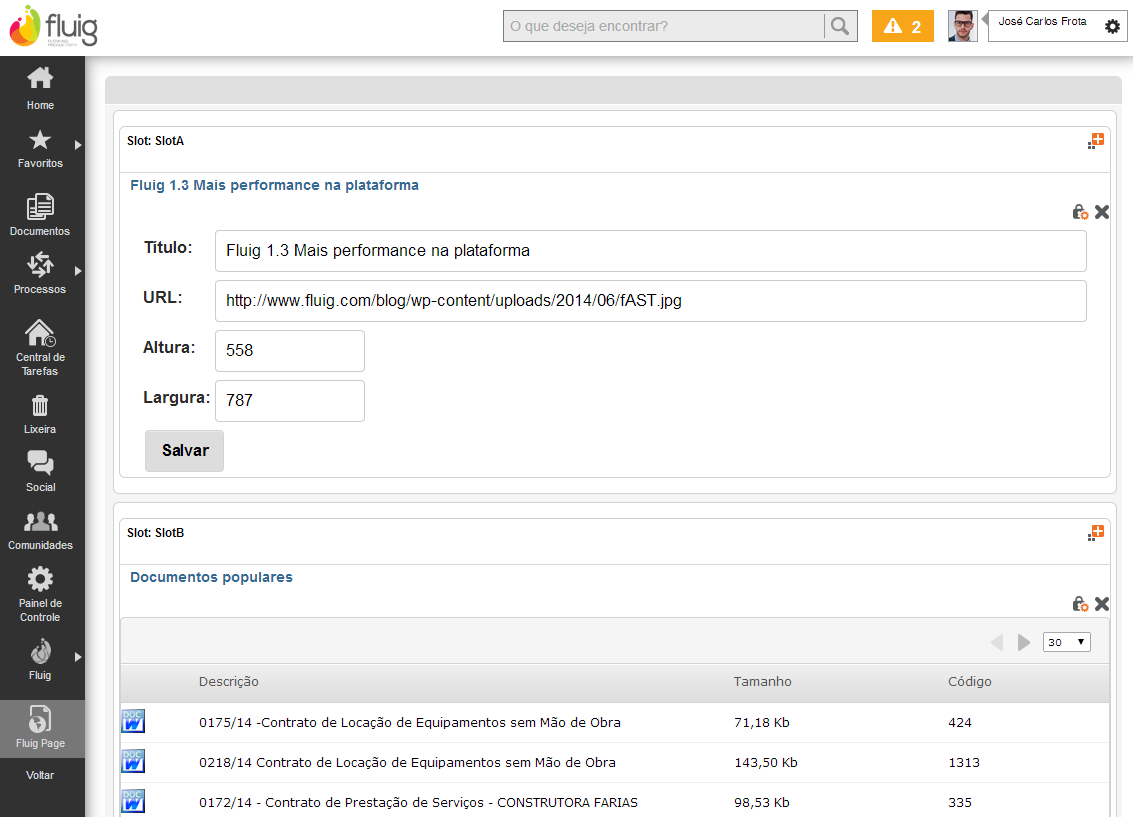
Widget configuration
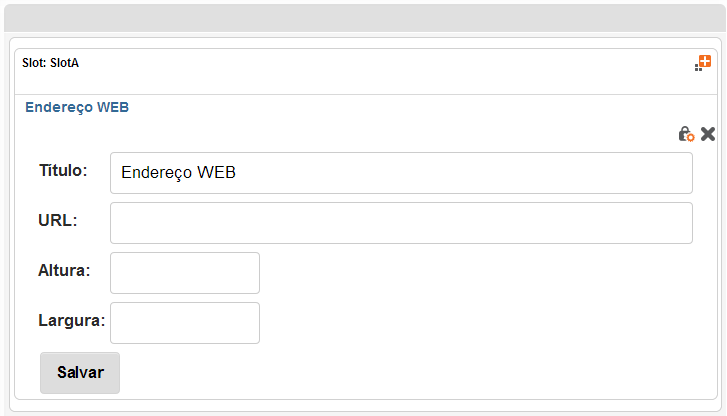
Some widgets require configuration for correct functioning. This configuration is done via the Edit feature present in the widget actions menu. Examples: Widgets Content editor,Lists and WEB address, among others. Below are the settings of the Widget WEB address for editing:
Another way to configure widgets is via the page editing screen, on which all the widgets added on the page are placed in edit mode.
To configure widgets, go to the page in which it was added.
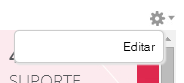
The widgets that allow settings feature the Gear icon. Click that icon and then Edit.
The edit mode of the widget is open.
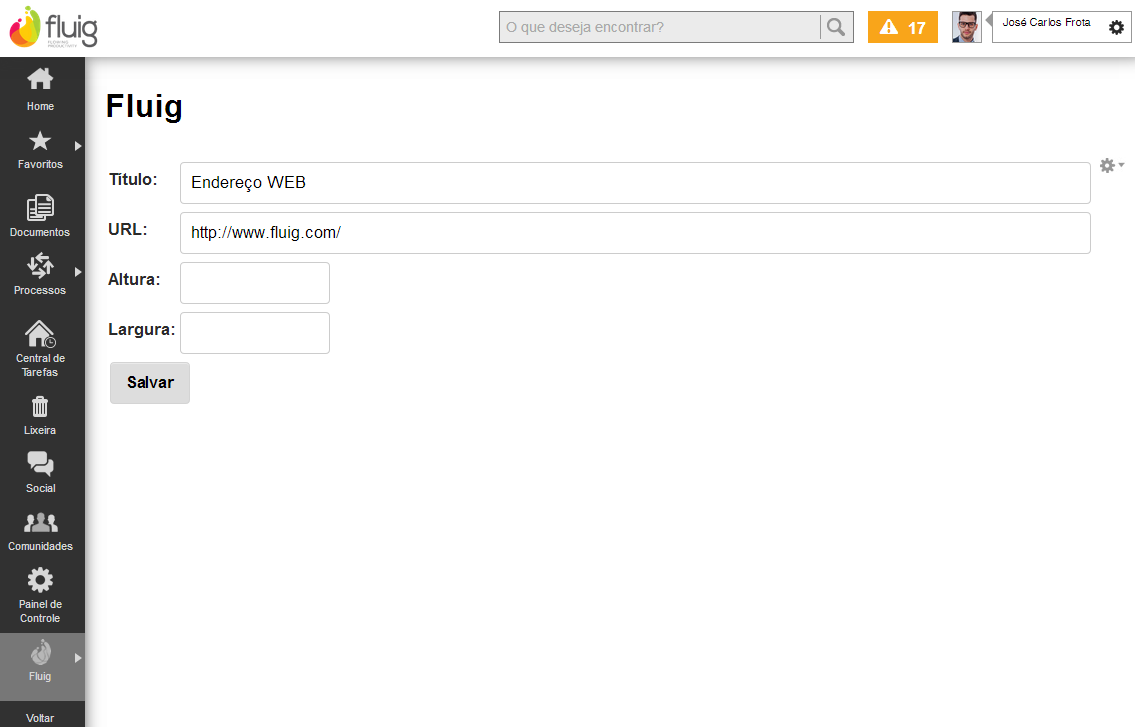
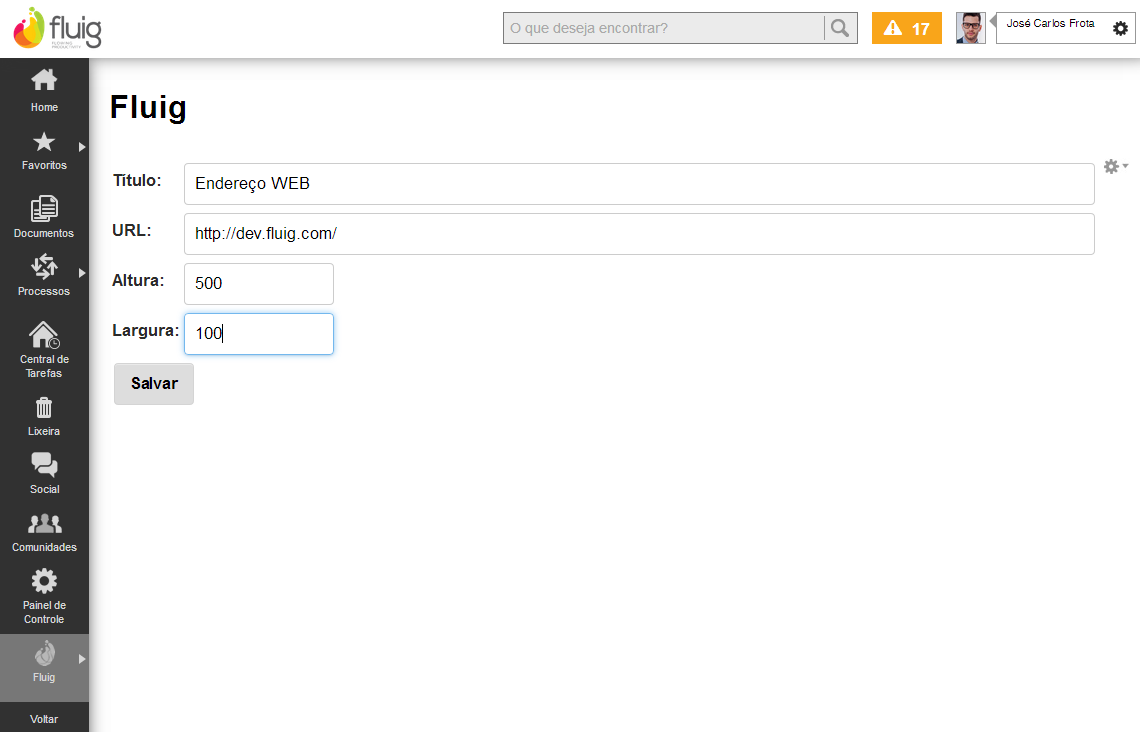
For the Widget WEB address enter a title, URL, and enter height and width of the widget. After finished, click Save.
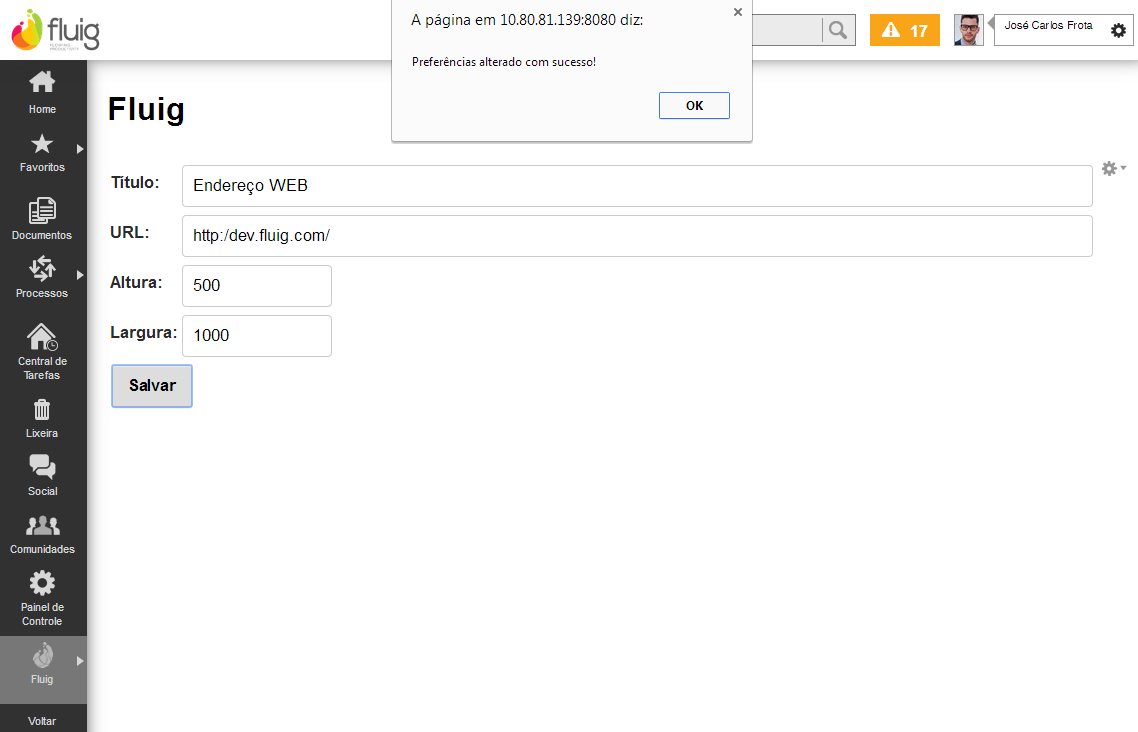
After you save it, you will receive a message saying that the preferences have been successfully saved . Click OK, and then go to the page again.
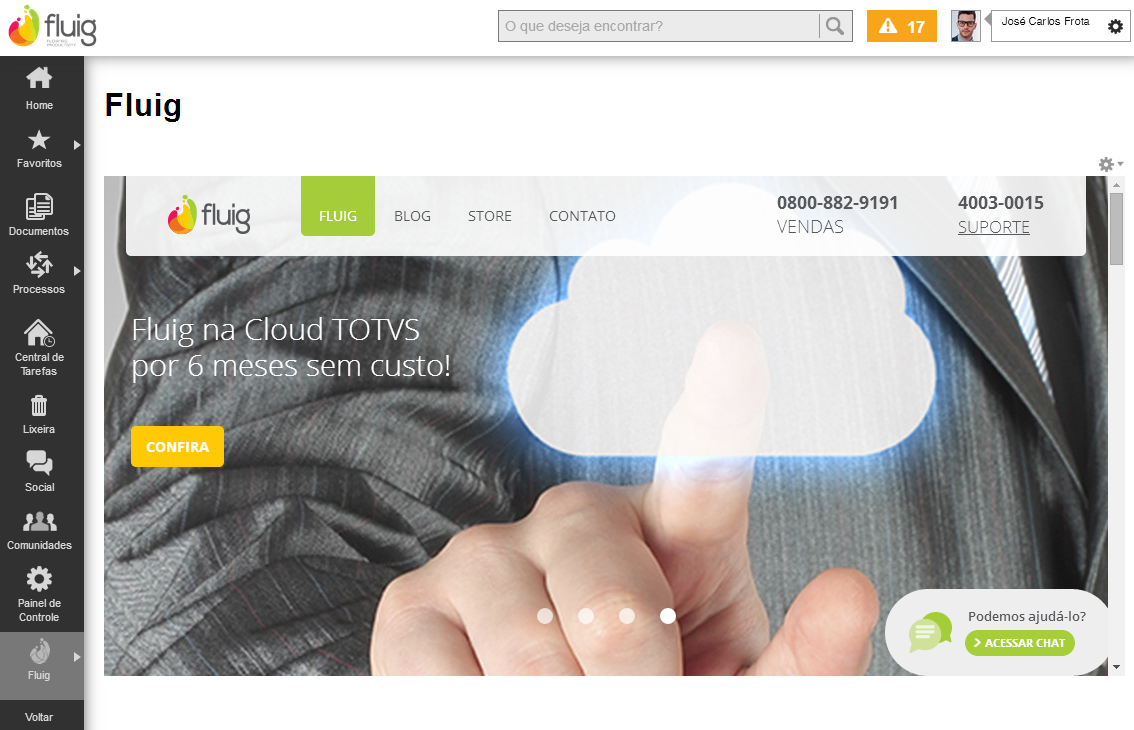
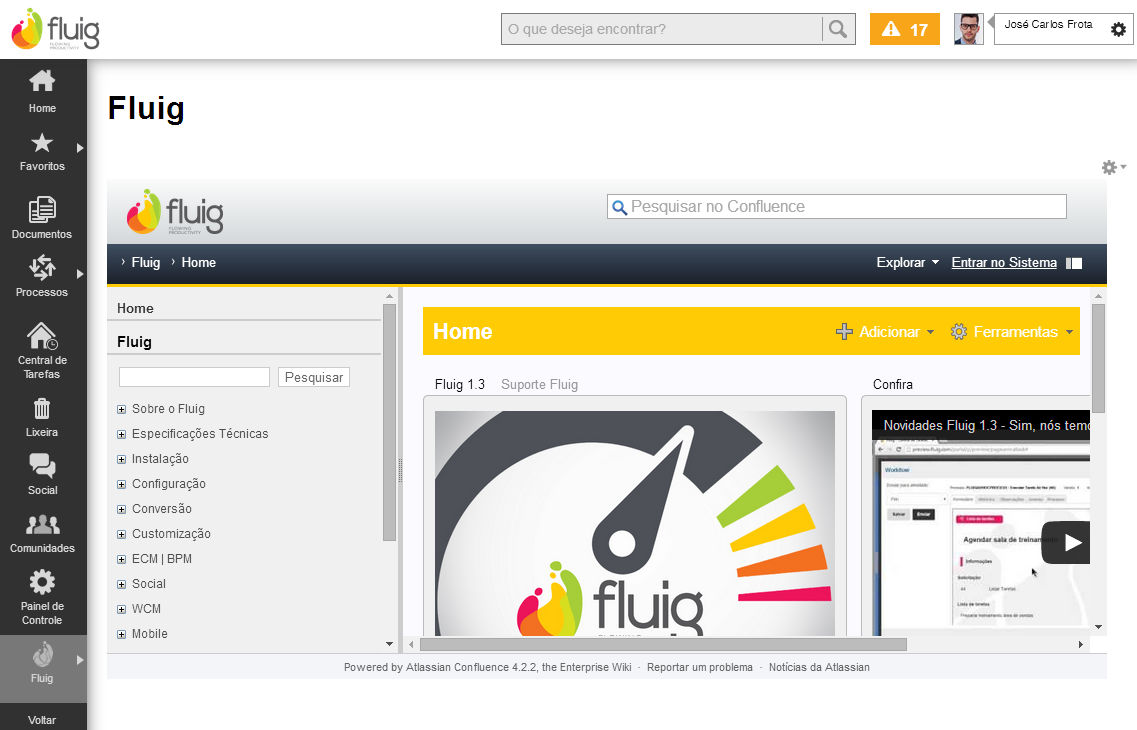
Note that now the widget has a new content.
Visão Geral
Import HTML Content
Conteúdo das Ferramentas
Tarefas