Índice
Purpuse
The purpose of this guide is to provide users with instructions on how to use the My Safe id app to protect their accounts in online services through multi-factor authentication.
Multi-factor authentication + My Safe id
Multi-factor authentication provides an additional layer of security to services and web applications through a token (electronic key) created by the My Safe id app. This token must be entered on the login page of the service so that access to the account is released.
Assuming that only the user has access to the device - and therefore to the token - malicious attacks will be blocked and, even if they have the user’s login and password, they will not have the code generated by My Safe id. In addition, to prevent a token from being reused, the code is automatically replaced every 30 seconds.
 How to get the My Safe id app?
The My Safe id app for iPhone can be downloaded from the App Store and for Android smartphones from the Google Play Store.
How to add an account to My Safe id?
There are two ways to add the service or web application account to My Safe id: by scanning a code (QR code) or manually entering the access key.
Both the QR Code and the key for manual inclusion are provided by the service/application to be added to My Safe id. Here is an example.
- Open the My Safe id app on your smartphone.
- Click the button
 to access the screen to add accounts.
It is necessary to grant My Safe id permission to access the device’s camera so that it can scan the code.
- The device’s camera will be enabled to scan the QR code.
- Point the camera at the QR code so that it can read the code.
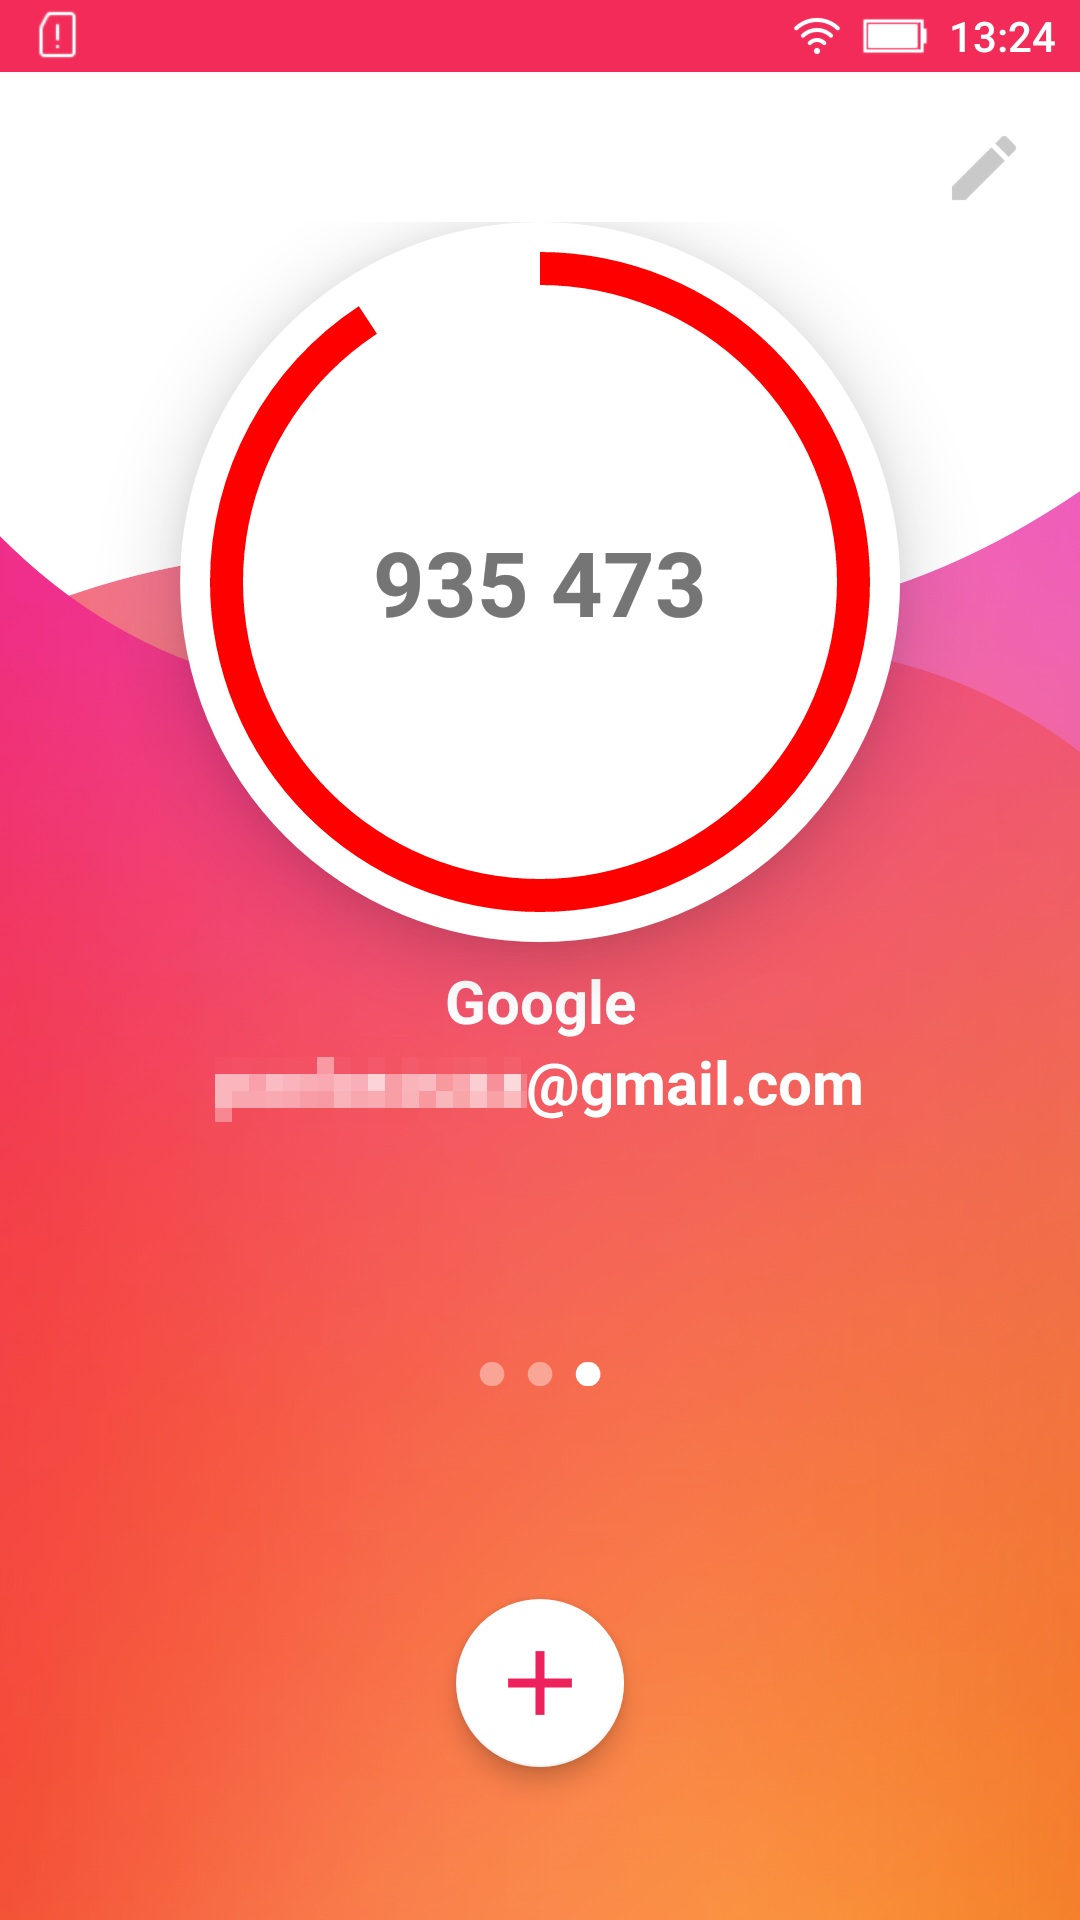
- Done! The account will be automatically added to the My Safe id home screen and the token can be used for authentication in the service.

- Open the My Safe id app on your smartphone.
- Click the button to access the screen to add accounts.
- Click Add manually at the bottom of the screen.
- Enter the name of the service/application in the Title field.
- Enter the user name or access e-mail in the Account field.
- Enter the access key provided by the service/application in the Key field.
- Click
 to save the information.
- Done! The account will be automatically added to the My Safe id home screen and the token can be used for authentication in the service.
No internet connection? No problem.
Internet connection on your smartphone is not required to add new accounts or query the tokens in My Safe id.
How to edit account data?
My Safe id allows you to edit the title and the user/login associated to the account. Open the app and follow the steps below.
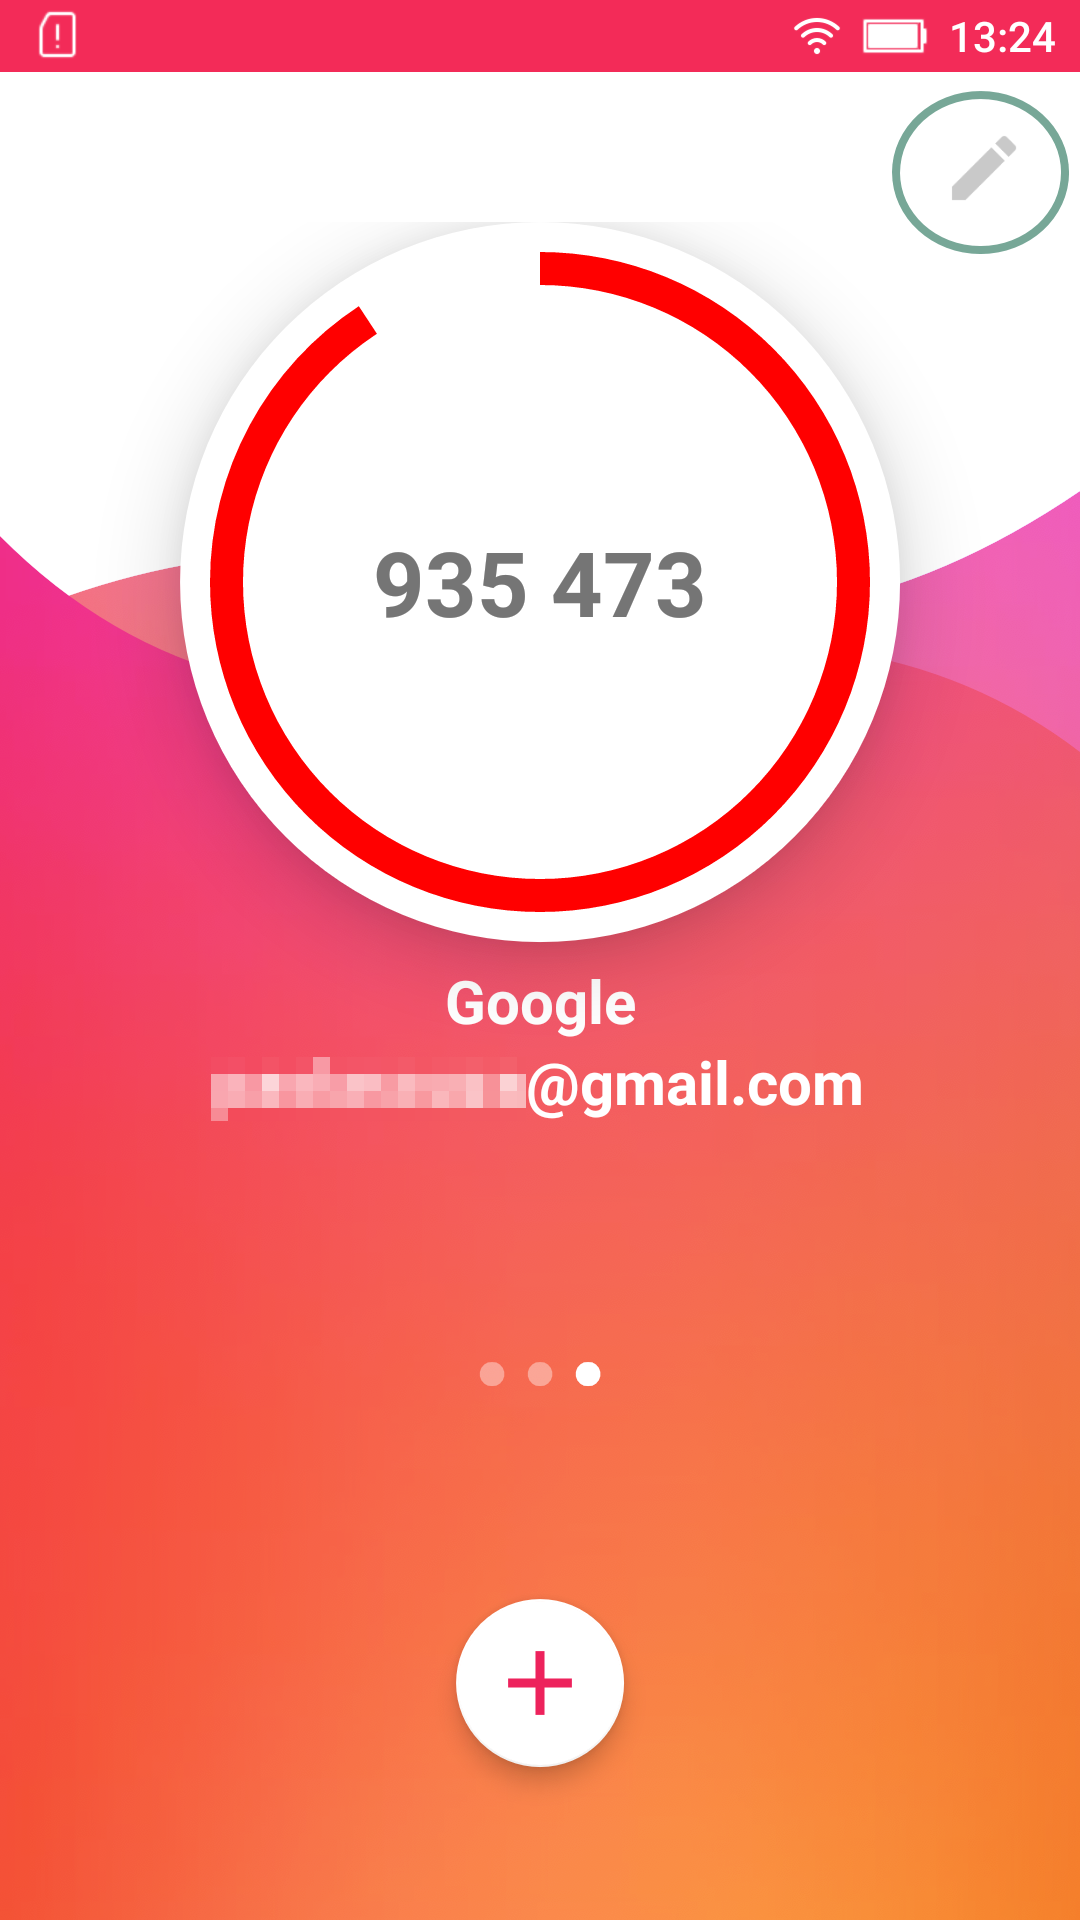
- Browse to the account to be changed by sliding the screen sideways.

- Click
 in the upper right corner of the screen.

- Enter the new title and/or account.
- Click to save the changes.

How to delete an account?
My Safe id allows you to delete added accounts. Open the app and follow the steps below.
- Browse to the account to be deleted by sliding the screen sideways.
- Click in the upper right corner.
- Click
 .
.
- Click OK to confirm the deletion.

How to add a Google account to My Safe id?
The following step-by-step instructions show how to enable multi-factor authentication in a Google account (Steps 1 to 4) and add it to My Safe id (Steps 5 to 10).
- Go to the My account page on Google (https://myaccount.google.com/).
- Click Login and Security → Two-step verification → First steps.

- Enter the Google account password and click Next.

- Google requires a phone number to verify the account.
- Enter the phone number to be used for authentication (with AREA CODE) and click Next.
By default, a verification code is sent by SMS to the number provided. You can also receive this code via a phone call.
- Fill in the field with the received code and click Next.

- Once the validity of the provided phone number is confirmed, click Enable so that the Google account can support multi-factor authentication.

- On the page displayed after it is enabled, find the Google Authenticator App session.
- Click Configure.

- Select the type of device where My Safe id is installed (Android or iPhone) and click Next.

- Open My Safe id on the smartphone.
- Click the button on the app to go to the screen to add accounts.
- Point the smartphone’s camera at the QR code displayed on the screen to read the code.
- On the Google account page, click Next.
Did you use the QR Code?
If the account has been added using the QR Code, the next step may be disregarded. Proceed to Step 9
- To add the key manually, click Unable to read the code?.

- Open the My Safe id app on your smartphone.
- Click the button on the app to go to the screen to add accounts.
- Click Add manually at the bottom of the screen.
This step should only be performed by users who wish to add their Google account to My Safe id manually and not by scanning the QR code.
- Enter the name of the service/application in the Title field, for example, “Google”.
- Enter your Google e-mail in the Account field, for example, “youremail@gmail.com”.
- Enter the access key provided by Google in the Key field.
- Click to save the information.
- On the Google account page, click Next.

- On the My Account page, click Completed to finish configuring the two-step verification via My Safe id app.

- From now on, when logging in to your Google account, in addition to your e-mail address and password, it will require the token created by My Safe id.

Visão Geral
Import HTML Content
Conteúdo das Ferramentas
Tarefas